Looking for an Eidos 9 walkthrough in Stellar Blade? This page will demonstrate how to discover every collectible and resource in this optional stage, which can only be accessed as part of the Making New Memories ending. As part of our Stellar Blade guide, our Eidos 9 walkthrough will detail the locations of Design Patterns, Camps, and more.
How Do You Get to Eidos 9 in Stellar Blade?
Eidos 9 is an optional level in Stellar Blade which you'll only visit while working towards the Making New Memories ending. As you complete Side Missions and collect intel for the Data Bank, you'll notice Lily's bond increasing in the top-right corner of the screen. Fill this to 100 per cent and before you leave for Spire 4 at the end of Orcal's Testimony, Lily will request you visit Eidos 9 first. Please note, if you continue with the story at this point, you will cross the Point of No Return and won't be able to revisit Xion, potentially failing any outstanding content you haven't completed.
Where Are All Collectibles and Resources in Eidos 9 in Stellar Blade?
Below you'll find a full Eidos 9 walkthrough, which details the locations of all key collectibles and resources in the Stellar Blade stage.
Fallen Overpass
Design Pattern: Planet Diving Suit (6th)
After defeating the second Cocoon, dive into the water and swim towards the building with the large beams around its perimeter. You will slowly take damage but should have more than enough time to get across. Climb up the yellow grips on the western facing wall, and then drop in through the roof. There's a red box behind the door with the Planet Diving Suit (6th) blueprint inside.
Camp #1

After defeating the third Cocoon in Sector 1, there's a Camp on the highway just to your left.
Camp #2

Make your way to the building with the giant Carwash sign on it, and then take the metal staircase down to the Camp.
Design Pattern: Punk Top
When you go outside of the Parking Tower which had the big Carwash sign on it, use the yellow hand holds to travel as far left as you possibly can. You'll see a mesh platform protruding out, so drop down and quickly double jump onto it. Follow the path around to an island-like area, where you'll find a red box with the Punk Top blueprint inside.
Camp #3

Once you get to the top of the Parking Tower, jump across to the taller building on your left where there's another Cocoon. Kill it then climb up the building using the hand holds and the yellow ladder. About half-way up is the Camp. There's another Cocoon at the top of the building, so you'll need to come this way anyway.
Submerged City
Camp #4

Follow the monorail path, always sticking to the left until you reach a big red slide. Ride it down into the Submerged City and there's a Camp immediately in front of you.
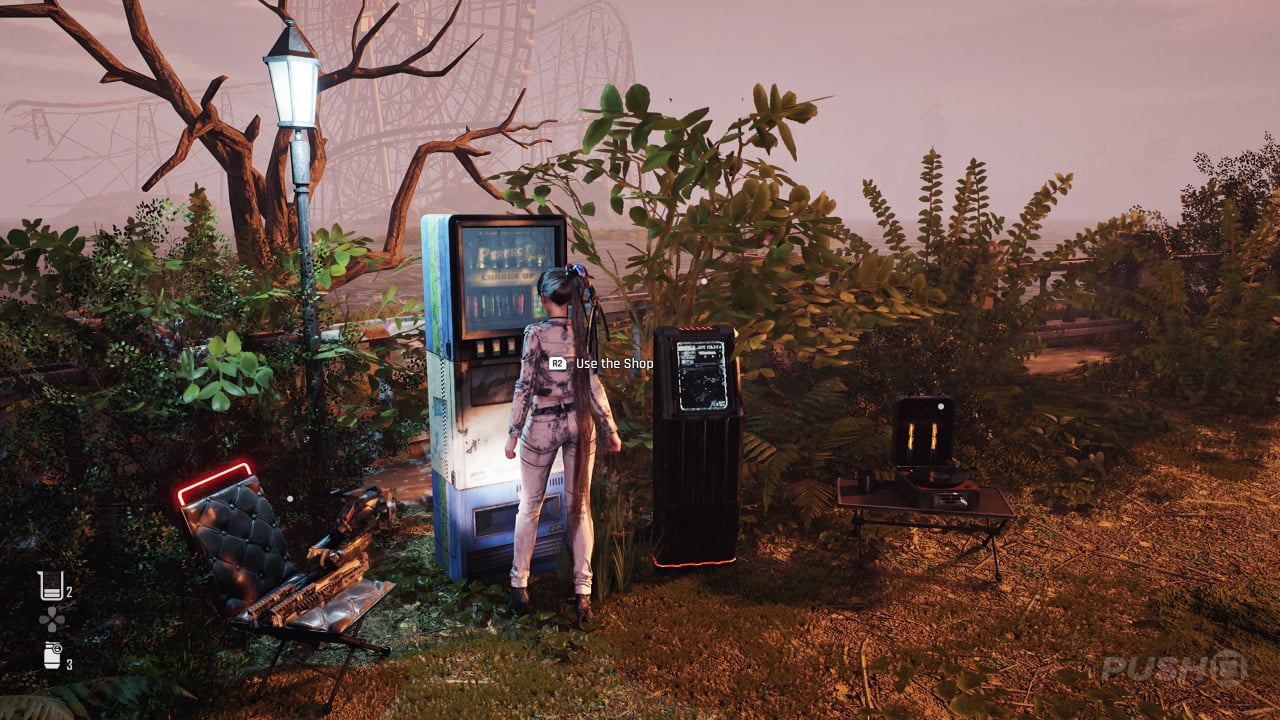
Supply Camp #1

After you're ambushed shortly after the previous Camp, complete the wall running section and then gradually make your way up the building following the main path. You'll eventually stumble upon a Supply Camp along the way.
Design Pattern: Motivation
When following the objective markers for Lily's Atelier, you'll need to take a red slide. Ride it all the way down to a Dozer and Hydra, and kill them both. Then look on the building roof opposite where you disembarked from the slide. You'll find the Motivation blueprint in a red box.
Atelier
Camp #5
Once you take the final red slide down to the Atelier, you'll find the Camp just among some shrubs to your left.
Did you find this Eidos 9 walkthrough in Stellar Blade helpful? Have a peek at our Stellar Blade guide, and let us know in the comments section below.


Comments 0
Wow, no comments yet... why not be the first?
Leave A Comment
Hold on there, you need to login to post a comment...